Set Up Data Sets
Data Sets can be a subset of a single System or span Systems and tie the generic business-focused documentation of terms, policies and rules to where the data is stored. For example, a rule can score the Data Set for data quality. A term can be related to Data Sets, which also ties the term to their related Systems. A business process could create a Data Set.
To set up a Data Set:
-
Click the plus sign (Add) icon on the Home page.

- Select Data Set from the drop-down.
- In the Quick Add modal, enter the Data Set name.
-
Enter the Description.
-
Enter the Purpose.
NOTE: The purpose describes why or how the fields in the Data Set are used, for example, for use in product roadmap analysis.
-
Do one of the following:
-
Click Full Page Detail to open the detail page for the Data Set once you have entered the Data Set and description in the Quick Add modal. Click Save to save changes made on the detail page.
-
Click Quick Add.
NOTE: To access the Data Set after you click Quick Add, search for the Data Set.
-
Once the data set has been added, you can include a Contact for the Data Set. Add a contact so that people in your organization know whom to contact with questions regarding this System information.
To add a contact:
-
Click the Contact icon (
 ).
).NOTE: The contact can be a user who does not have an account in Knowledge Tier.
-
In the Add Contacts modal, enter the details.
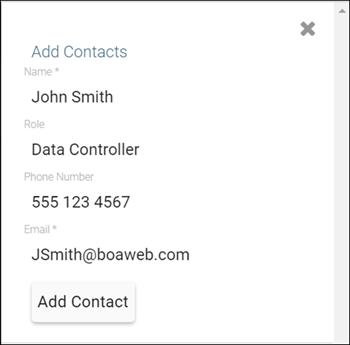
- Click Add Contact, and then click OK to close the modal.
- Click Save on the detail page.
Next, add fields to the data set.
NOTE: The fields must first be imported for a System. Refer to Import Fields to a System for more information.
To add fields:
-
Do one of the following:
-
Click the Add Fields button if no fields have been added.
OR
-
Click the Add Fields tab to search for and add additional fields to the data set.
-
- Enter the System, Location, or Name (you can search by Friendly name or Technical name) to locate the fields that you wish to add.
-
Click the Search icon or press Enter.
- In the search results list, locate the field to add and then click the Add (
 ) icon.
 - In the add modal, verify the field information.
- Select a Classification.
-
Assign an Owner, if needed.
NOTE: The person adding the field is assigned Owner by default. If you want to assign someone else as Owner delete your name, and then select a name from the list.
- Click Add to Data Set.
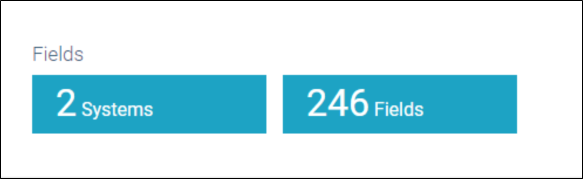
Once the fields have been added, you can view the number of Systems and the number of Fields included in the data set on the Overview tab.
On the Fields tab, the fields are displayed in a table with the Field Name, Technical Name, Location (System and full Path) as well as Owner and Classification. Here you can view and configure Owner and Classification information for the fields.
To configure data set field information:
- Click the Fields tab.
-
Click the icon in the Owner column, select the owner from the list, and then click Done.
NOTE: This is the person within your organization responsible for this field and can answer questions about this field and its data.
-
Click the Class field and select an option from the drop-down. Values are:
- Restricted – Data can only be accessed by authorized individuals or processes.
- Public – Data is public facing, such as company name etc.
- Personal – Data is personal.
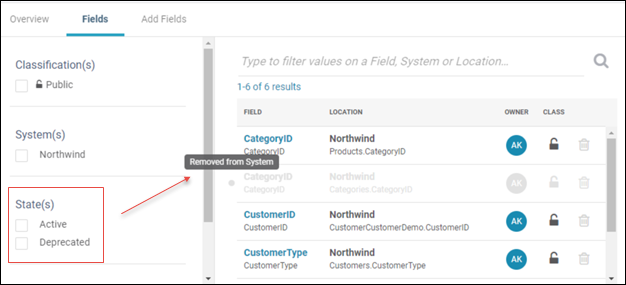
You can filter the Fields table using the checkbox sort options and search for a specific field in the Data Set using the search box.
Deprecated Fields
Deprecated fields have a Removed from System indicator. Deprecated fields were removed from the System to which they were imported. Refer to Import Fields to a System for more information. Owner and Class cannot be updated for Deprecated fields. Deprecated fields can be deleted from the Data Set.
Next, you can:
- Share the URL for the Data Set
- View the change history for the Data Set
- Add Supporting Documentation to the Data Set
- Comment on a Data Set
- Add a relationship to other assets
- Apply Categories to Assets
Use Bulk Update to apply edits to multiple assets
With Bulk Update, you can filter a list of assets on the Search Results page to be updated with values that you select on the Bulk Update page, including:
- Assigned To
- Sponsors
- Category Value
This feature is particularly useful for finalizing assets that have been remotely uploaded. Refer to Use Bulk Update to Edit Assets for more information.